Deploying to iOS and Android
Since we added Capacitor to our project when it was first created, there’s only a handful of steps remaining until the Photo Gallery app is on our device!
Capacitor Setup
Capacitor は Ionic の公式アプリランタイムで、Web アプリを iOS、Android などのネイティブプラットフォームに簡単にデプロイできるようにします。過去に Cordova を使用したことがある場合は、Capacitor と Cordova の違いについてさらに読むことを検討してください。
If you’re still running ionic serve in the terminal, cancel it. Complete a fresh build of the Ionic project, fixing any errors that it reports:
ionic build
Next, create both the iOS and Android projects:
ionic cap add ios
ionic cap add android
Both android and ios folders at the root of the project are created. These are entirely standalone native projects that should be considered part of your Ionic app (i.e., check them into source control, edit them using their native tooling, etc.).
Every time you perform a build (e.g. ionic build) that updates your web directory (default: www), you'll need to copy those changes into your native projects:
ionic cap copy
Note: After making updates to the native portion of the code (such as adding a new plugin), use the sync command:
ionic cap sync
iOS Deployment
To build an iOS app, you’ll need a Mac computer.
Capacitor iOS apps are configured and managed through Xcode (Apple’s iOS/Mac IDE), with dependencies managed by CocoaPods. Before running this app on an iOS device, there's a couple of steps to complete.
First, run the Capacitor open command, which opens the native iOS project in Xcode:
ionic cap open ios
一部のネイティブプラグインを動作させるためには、ユーザーの権限設定が必要です。私たちのフォトギャラリーアプリでは、これにはカメラプラグインが含まれます:iOS では、Camera.getPhoto() が最初に呼び出された後、自動的にモーダルダイアログが表示され、ユーザーにアプリによるカメラの使用許可を求めます。この権限は「プライバシー - カメラ使用」と表示されます。設定するには、Info.plist ファイルを修正する必要があります(iOS 構成の詳細)。アクセスするには、「Info」をクリックし、「カスタム iOS ターゲットのプロパティ」を展開します。
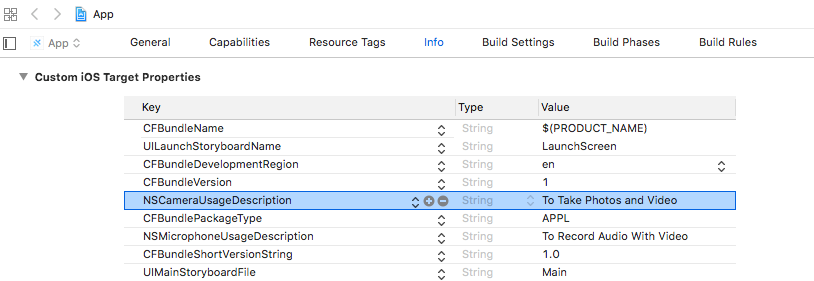
Each setting in Info.plist has a low-level parameter name and a high-level name. By default, the property list editor shows the high-level names, but it's often useful to switch to showing the raw, low-level names. To do this, right-click anywhere in the property list editor and toggle "Raw Keys/Values."
Add the NSCameraUsageDescription Key and set the Value to something that describes why the app needs to use the camera, such as "To Take Photos." The Value field is displayed to the app user when the permission prompt opens.
Follow the same process to add the other two Keys required of the Camera plugin: NSPhotoLibraryAddUsageDescription and NSPhotoLibraryUsageDescription.
Next, click on App in the Project Navigator on the left-hand side, then within the Signing & Capabilities section, select your Development Team.
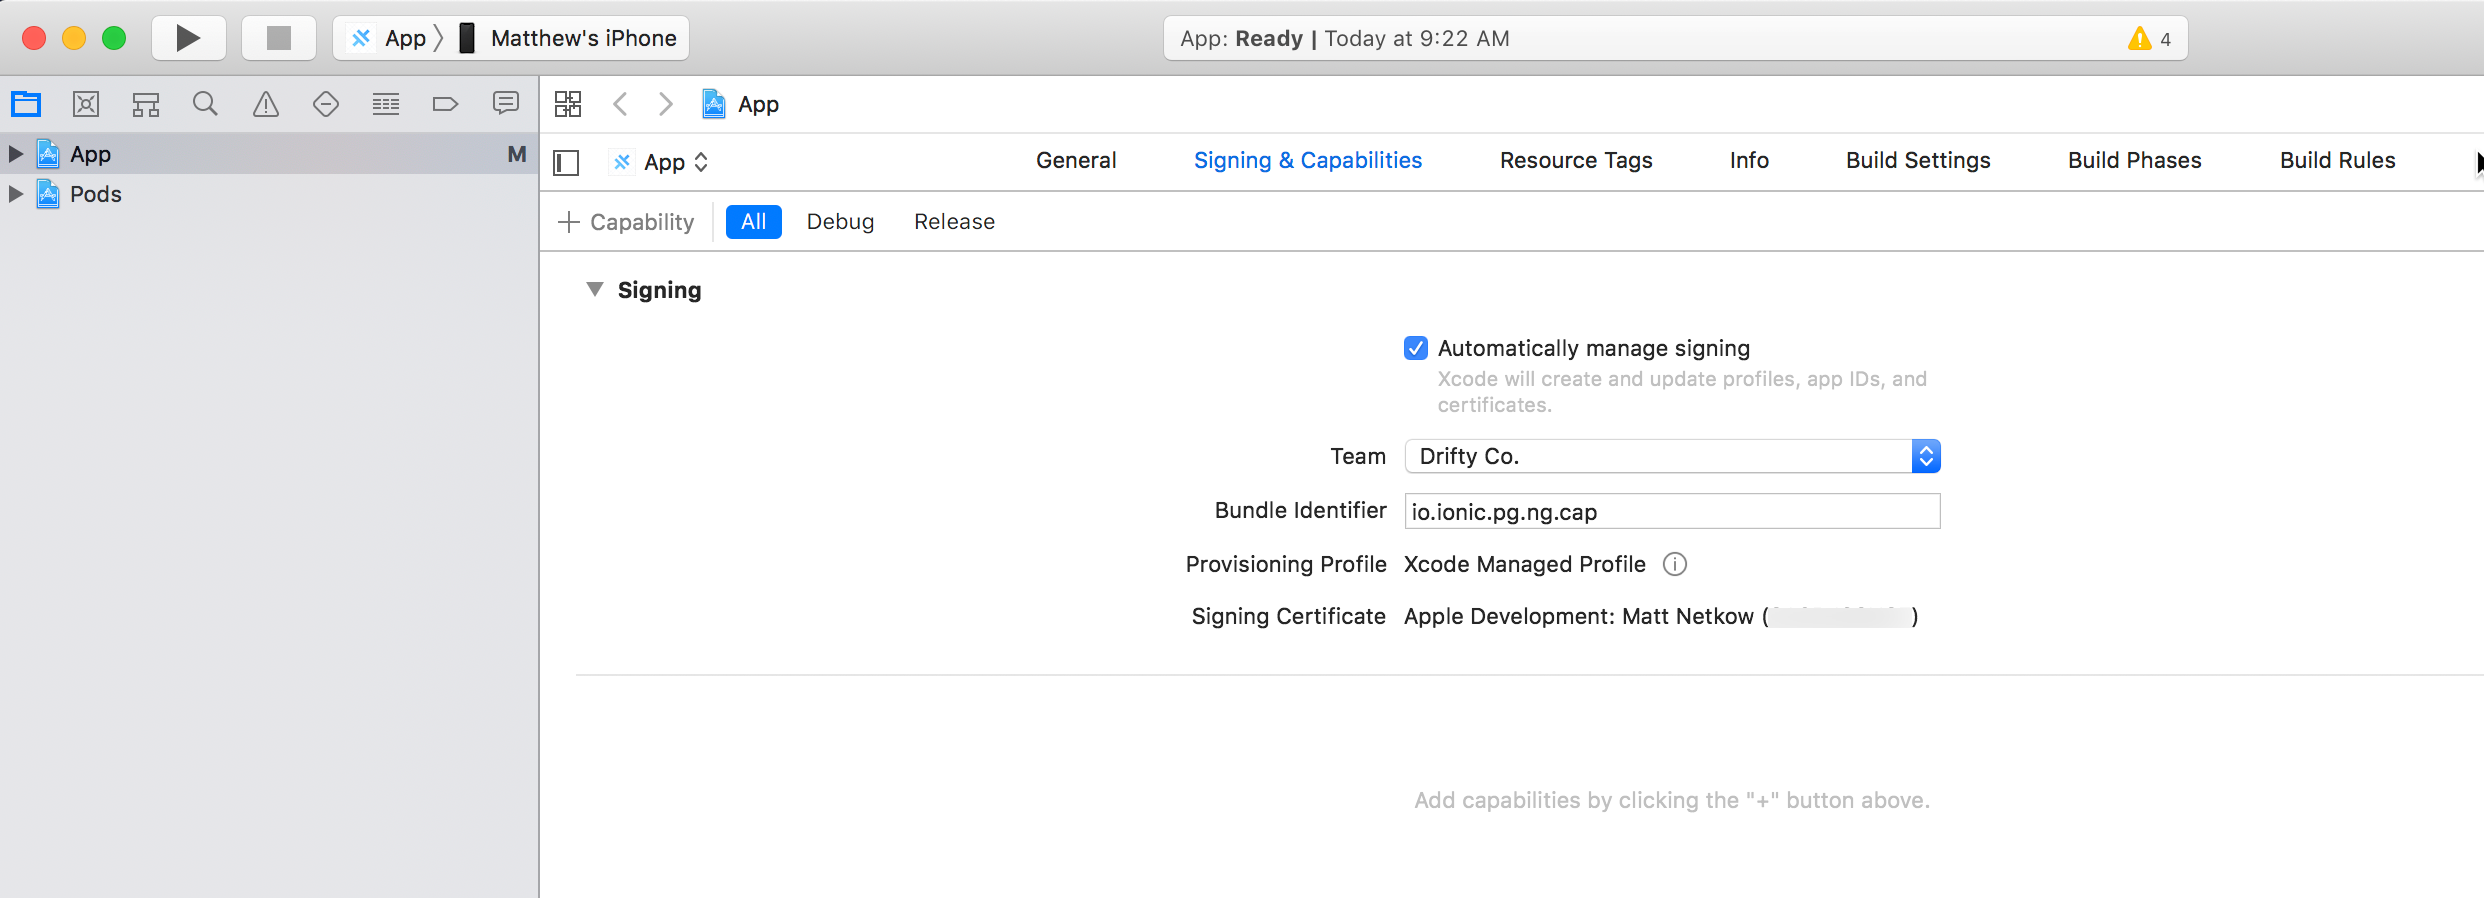
With permissions in place and Development Team selected, we are ready to try out the app on a real device! Connect an iOS device to your Mac computer, select it (App -> Matthew’s iPhone for me) then click the "Build" button to build, install, and launch the app on your device:
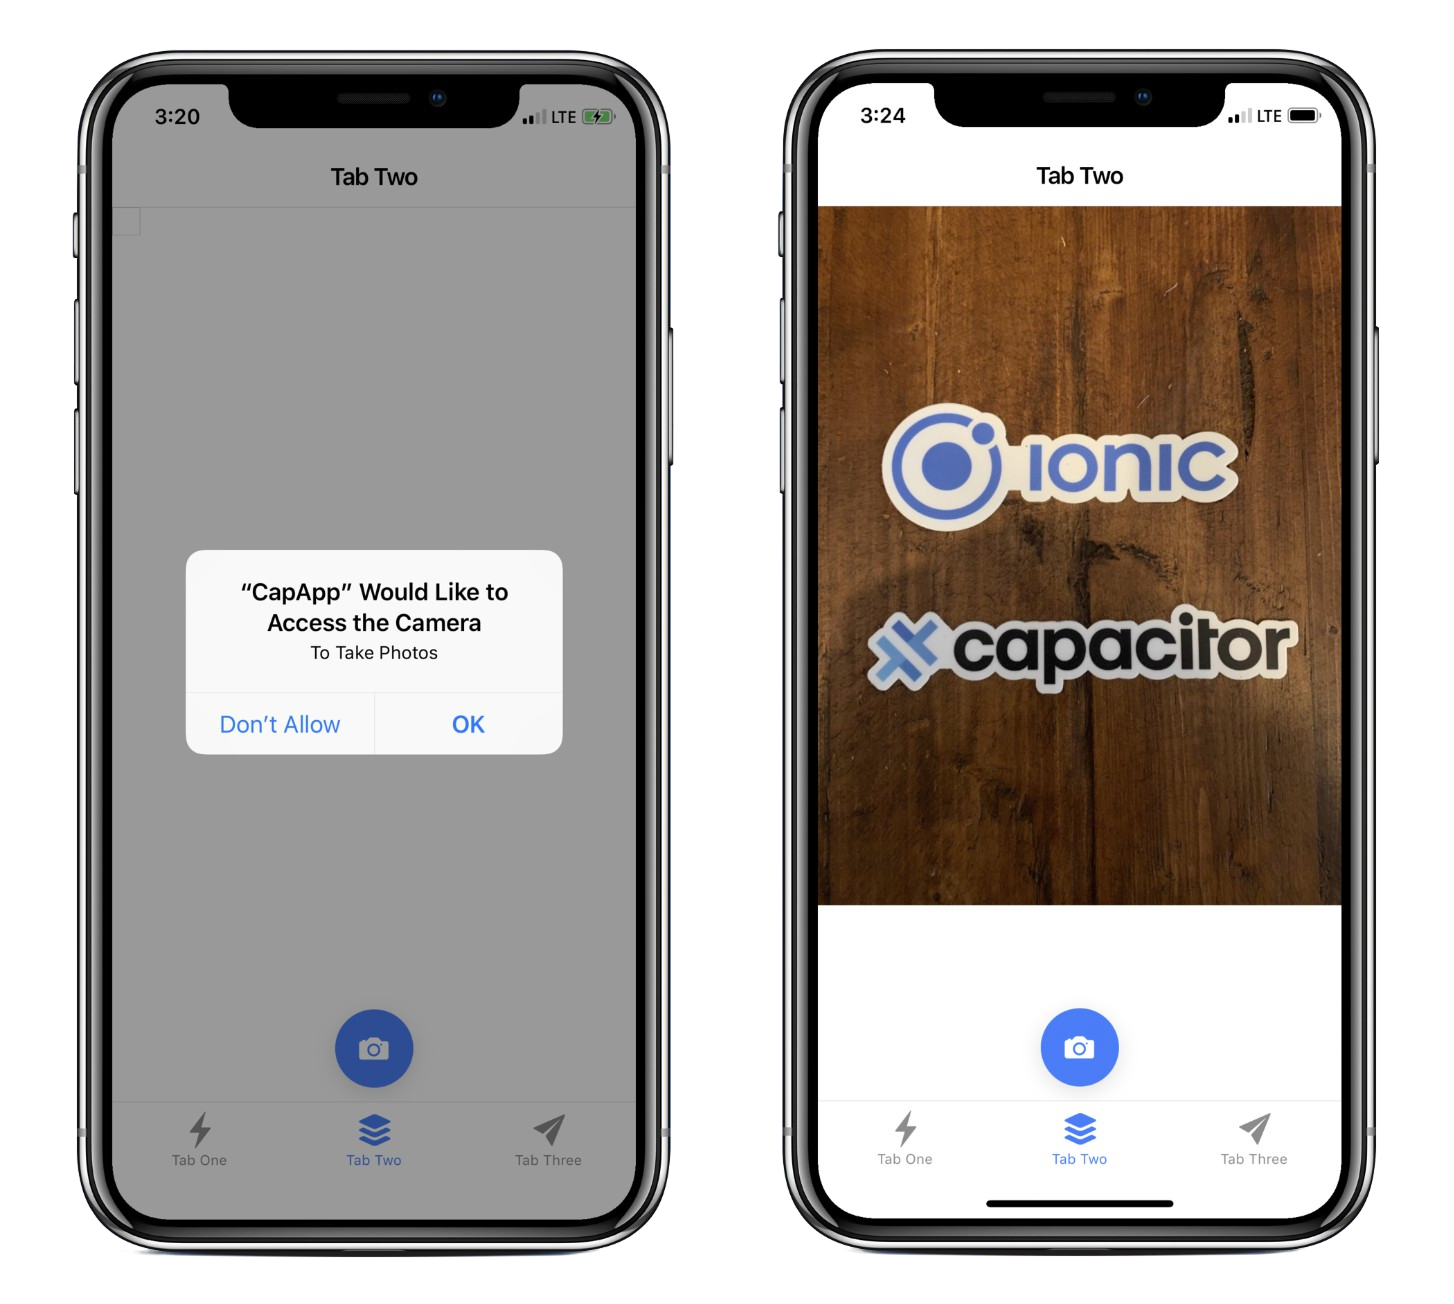
Upon tapping the Camera button on the Photo Gallery tab, the permission prompt will display. Tap OK, then take a picture with the Camera. Afterward, the photo shows in the app!
Android Deployment
Capacitor Android apps are configured and managed through Android Studio. Before running this app on an Android device, there's a couple of steps to complete.
First, run the Capacitor open command, which opens the native Android project in Android Studio:
ionic cap open android
Similar to iOS, we must enable the correct permissions to use the Camera. Configure these in the AndroidManifest.xml file. Android Studio will likely open this file automatically, but in case it doesn't, locate it under android/app/src/main/.
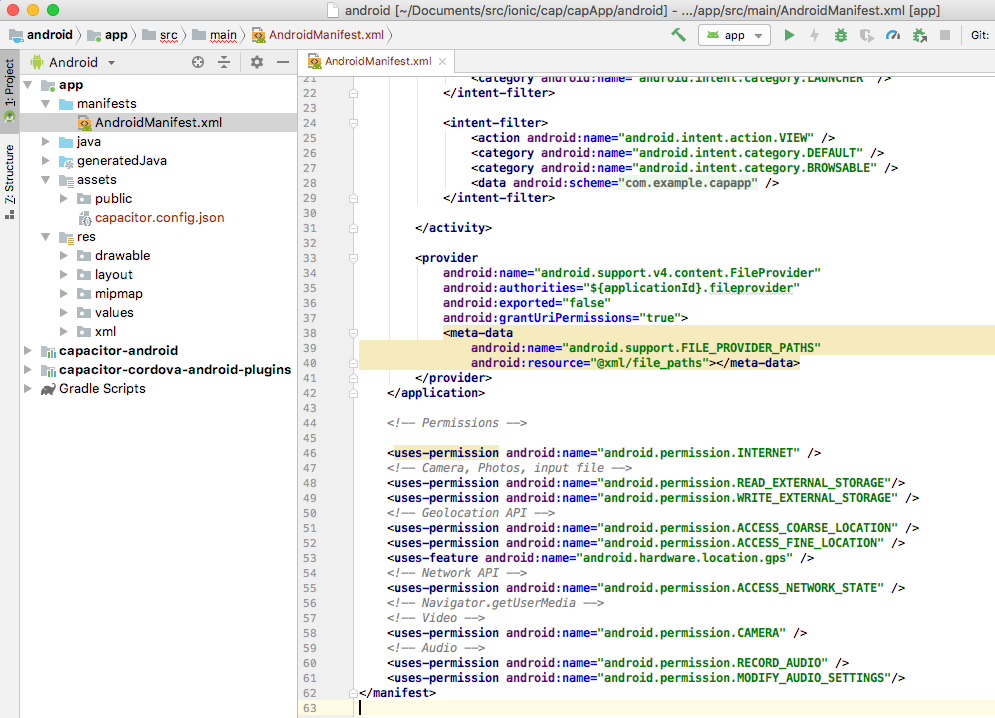
Scroll to the Permissions section and ensure these entries are included:
<uses-permission android:name="android.permission.READ_EXTERNAL_STORAGE"/>
<uses-permission android:name="android.permission.WRITE_EXTERNAL_STORAGE" />
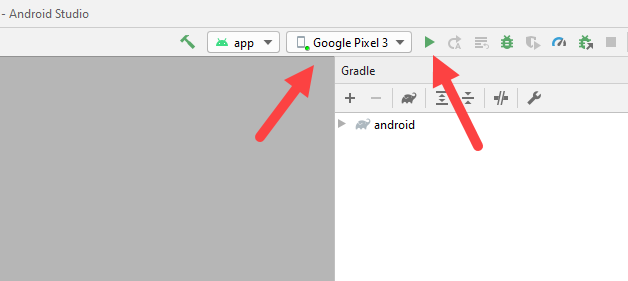
Save the file. With permissions in place, we are ready to try out the app on a real device! Connect an Android device to your computer. Within Android Studio, click the "Run" button, select the attached Android device, then click OK to build, install, and launch the app on your device.
Once again, upon tapping the Camera button on the Photo Gallery tab, the permission prompt should be displayed. Tap OK, then take a picture with the Camera. Afterward, the photo should appear in the app.
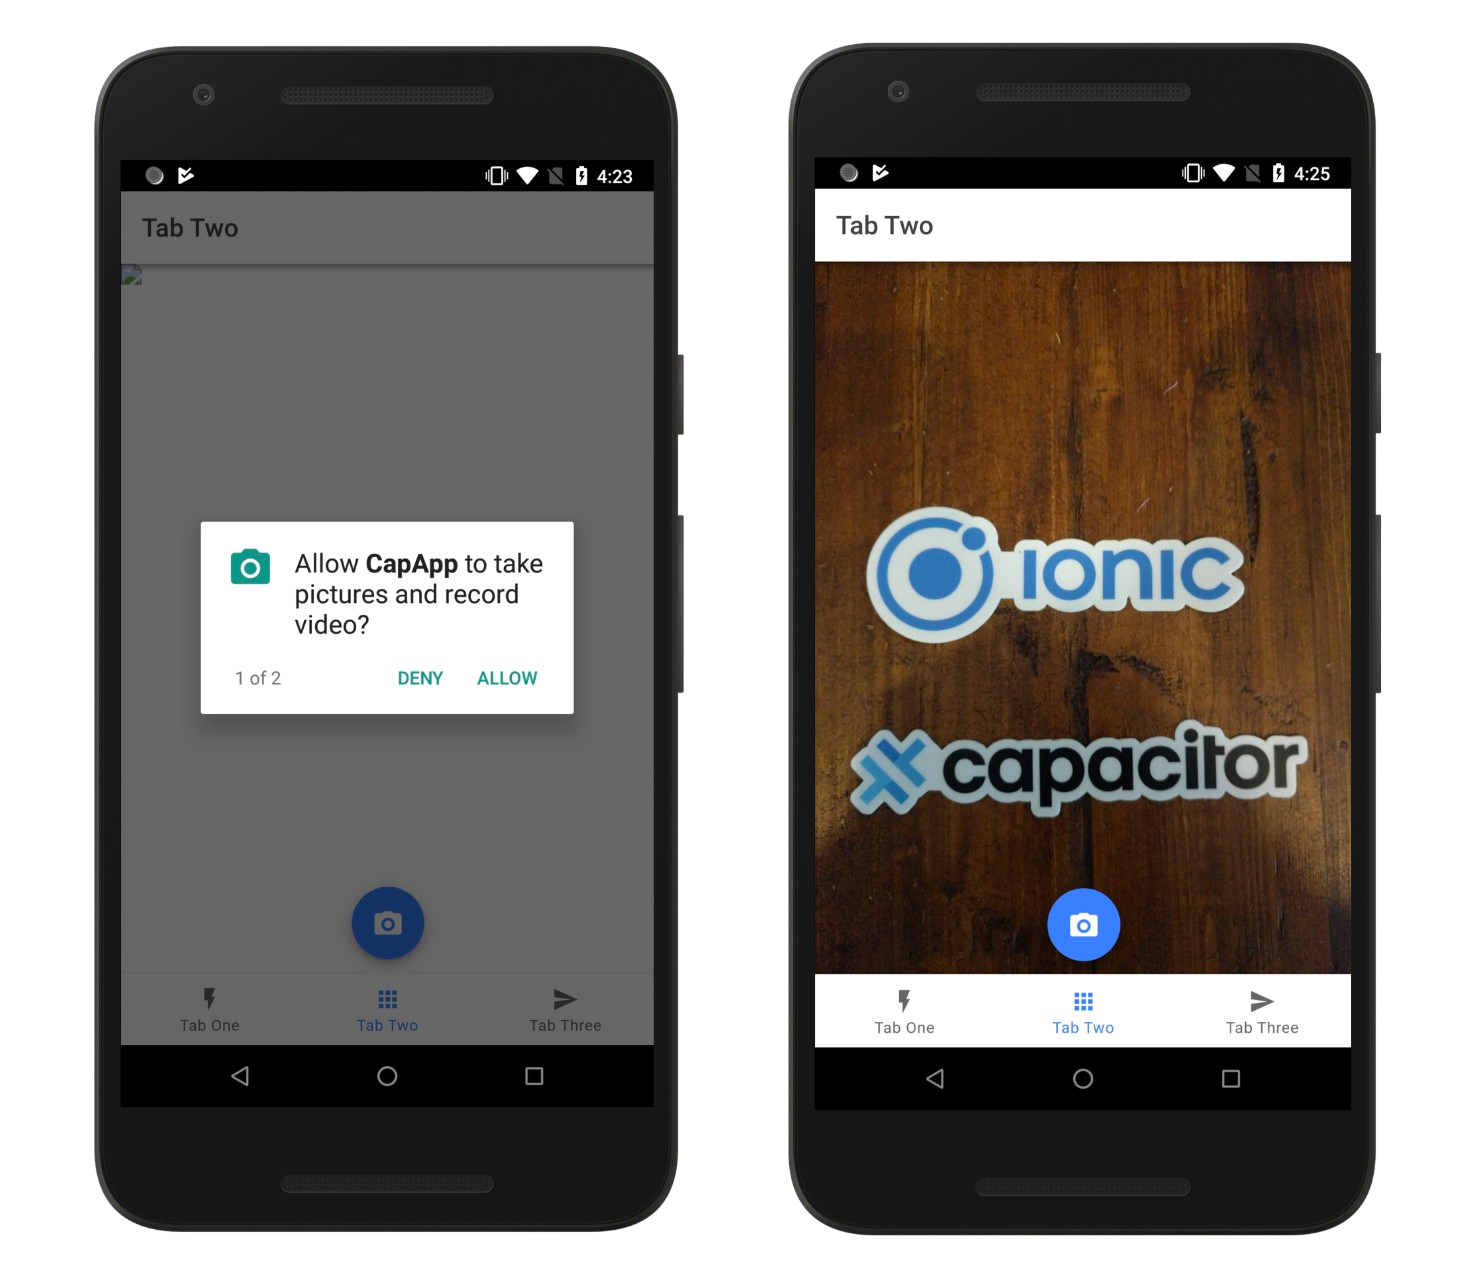
Our Photo Gallery app has just been deployed to Android and iOS devices. 🎉
In the final portion of this tutorial, we’ll use the Ionic CLI’s Live Reload functionality to quickly implement photo deletion - thus completing our Photo Gallery feature.